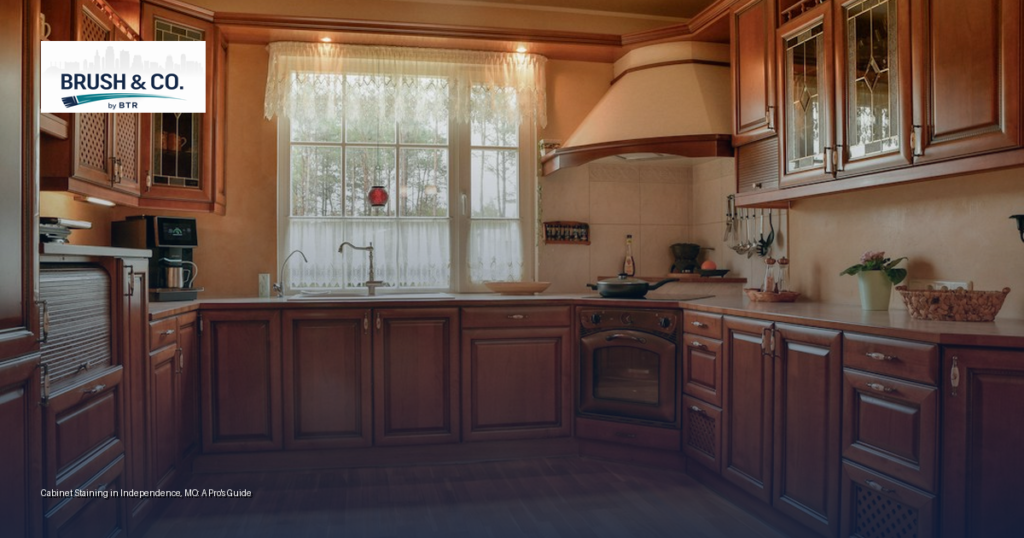
Cabinet staining in Independence, MO typically runs a few days per kitchen and gives you a richer, wood-grain finish that holds up to the hard use an Eastern Jackson County kitchen sees. For solid-wood doors and boxes in good structural shape, staining is usually cheaper and faster than replacing cabinets, and a properly prepped, conversion-varnish-sealed finish can last well over a decade. The catch is that staining only works on real wood: it will not take on the laminate or thermofoil fronts common in some newer builds.
Key takeaways
- Staining needs solid wood. Oak, maple, cherry, and hickory stain beautifully; laminate, MDF, and thermofoil do not and need paint or refacing instead.
- Prep makes or breaks the finish. Degreasing, sanding, and tack-cloth cleanup determine whether the finish lasts or peels.
- Plan on 3 to 5 days for a typical Independence kitchen, including dry time between coats.
- Durability comes from the topcoat. A catalyzed or conversion varnish resists the steam, grease, and temperature swings a kitchen throws at it.
- Color matters locally. Warm mid-tones and natural wood looks pair well with the traditional and craftsman styles seen across Independence neighborhoods.
Can You Stain Your Existing Cabinets?
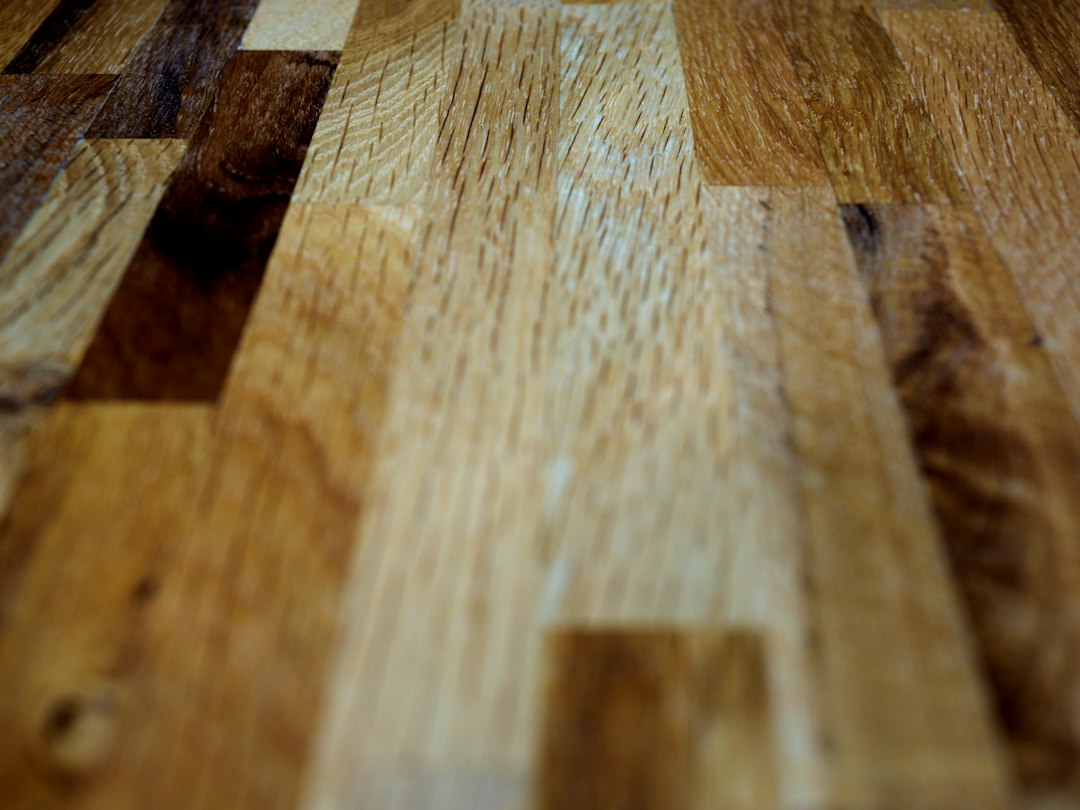
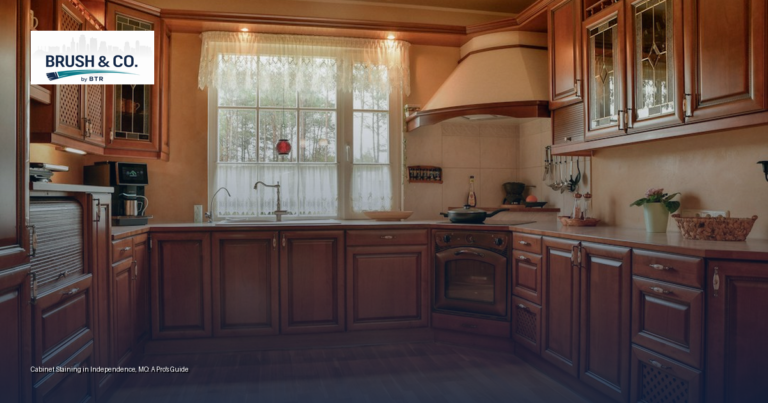
The first question a pro asks is what your cabinets are actually made of. Many homes across Independence, from the century-old houses near the Truman Historic District and the Square to the 1990s and 2000s subdivisions out toward Little Blue and east of 291, were fitted with solid oak or maple cabinetry. That solid wood is an ideal candidate for staining. If you have original wood doors with raised panels and visible grain, you are in good shape.
Thermofoil and laminate fronts, more common in some builder-grade kitchens, cannot be stained because there is no porous wood for the stain to penetrate. In those cases, painting or refacing is the honest recommendation. A quick test: open a door and look at the unfinished back edge. Real wood shows continuous grain; a wrapped or printed surface usually reveals a seam.
The Staining Process Step by Step

Here is how the work actually goes, and why each stage matters for a finish that survives an Independence kitchen.
1. Degrease and clean
Kitchen cabinets near the range collect a film of cooking grease you often cannot see. We clean every surface with a degreaser so stain and sealer can bond. Skip this and the finish will fish-eye or peel later.
2. Strip or sand the old finish
Existing varnish or polyurethane has to come off or be scuffed thoroughly, because new stain will not penetrate a sealed surface. Depending on the old finish, that means chemical stripping or sanding down to bare wood. Stripping involves chemicals that should be handled with proper ventilation and protection; when in doubt, work with a licensed professional who follows the product’s safety data sheet.
3. Sand and condition
Softer and blotch-prone woods like maple benefit from a pre-stain wood conditioner so color absorbs evenly. We sand progressively, usually finishing around 180 grit, then remove every speck of dust with a tack cloth.
4. Apply stain
Stain is applied and wiped back to control depth of color. Multiple passes build a richer tone. This is where a sample on a hidden door panel pays off, since the same stain reads differently on oak versus cherry.
5. Seal with a durable topcoat
The topcoat does the heavy lifting on longevity. A catalyzed or conversion varnish handles the steam, splatter, and humidity swings a Kansas City-area kitchen generates far better than a basic wipe-on poly. Independence summers get hot and humid while winters run dry, and that seasonal swing is exactly what a quality sealer is built to ride out.
What Cabinet Staining Costs in Independence
Pricing depends on cabinet count, wood species, and whether the old finish needs full stripping. Refinishing in place is almost always less expensive than new cabinetry. According to Remodeling magazine’s 2023 Cost vs. Value Report, a minor kitchen remodel in the Kansas City region recovered a strong share of its cost at resale, which is part of why refinishing existing wood is such a value play compared with a full replacement. For a scoped quote on your specific kitchen, it is worth getting an in-home estimate rather than relying on a square-foot average.
Picking a Stain Color for Your Independence Home
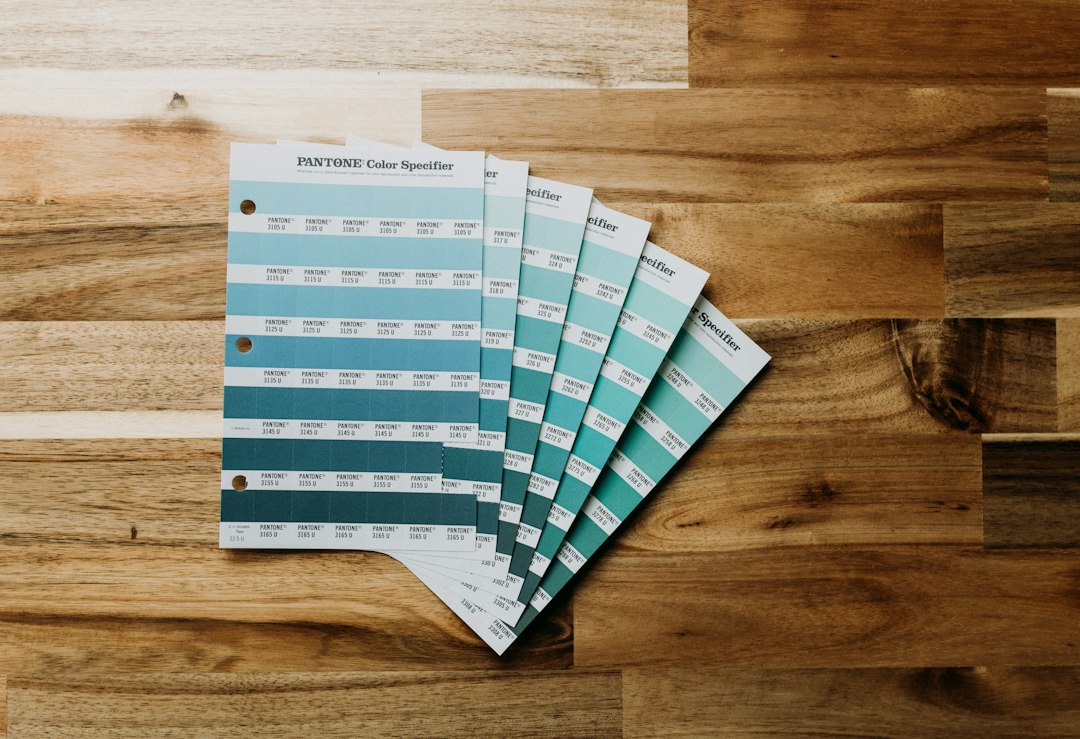
Independence’s housing stock leans traditional and craftsman, and that influences what looks right. Warm medium browns and natural wood tones complement the brick and stone exteriors common in the older neighborhoods around the Square and in the established subdivisions near Fairmount and Englewood. Cooler gray-washed stains can modernize an older oak kitchen without hiding the grain the way paint would. Because our long, bright Missouri summer light pours through most kitchens here, always judge a sample at the actual cabinet location across different times of day before committing.
DIY or Hire a Pro?
A motivated homeowner can stain a small set of cabinets, but the failure points are prep and topcoat application. Dust nibs, uneven absorption, and brush marks in the clear coat are hard to undo once sealed. For a whole kitchen that gets daily use, the controlled environment and spray finish a professional brings usually justify the cost. If you want to compare approaches, our guide on hiring a pro versus doing it yourself walks through the trade-offs, and you can see finished kitchens in our project gallery.
Ready to Refresh Your Cabinets?
If your kitchen has solid-wood cabinets with good bones, staining is one of the highest-impact updates you can make without a full remodel. Explore our painting and refinishing services for Independence, or request an estimate to get your kitchen scoped by name.